Written by Outrank. Published by Mallary Labs LLC.
Published .
How to Post a Short on YouTube the Right Way
You've recorded a clean vertical clip, opened YouTube, tapped the create button, and expected a Short. Instead, the upload looks like an ordinary video. The file may play perfectly, but YouTube's classification depends on technical details that are easy to miss, especially when the same workflow behaves differently on mobile, desktop, and through an API.
The reliable way to post a Short on YouTube is to treat publishing as a pipeline. Validate the file first, use the correct upload path, complete the metadata carefully, verify how YouTube classified the video, and only then automate the process for repeated publishing.
Table of Contents
- What a YouTube Short Actually Is in 2026
- Posting a Short from the YouTube Mobile App
- Posting a Short from YouTube Studio on Desktop
- Best Practices for Shorts That Actually Get Watched
- Automating Shorts with the YouTube API and Mallary.ai
- Troubleshooting the Most Common Short Upload Problems
- Your Shorts Publishing Checklist and What's Next
What a YouTube Short Actually Is in 2026
A YouTube Short is no longer limited to a brief vertical clip. YouTube's current help documentation defines eligible Shorts as square or vertical videos up to three minutes long, including videos uploaded on or after October 15, 2024 that meet those dimensions and duration requirements. The official upload guidance is available in YouTube's Shorts help documentation.
That means a practical source file should use 9:16 vertical framing, such as 1080x1920, or a square 1:1 frame. YouTube also notes a maximum resolution of 1080p for Short videos, so exporting at 1080x1920 gives you a dependable target without sending an unnecessarily large file.
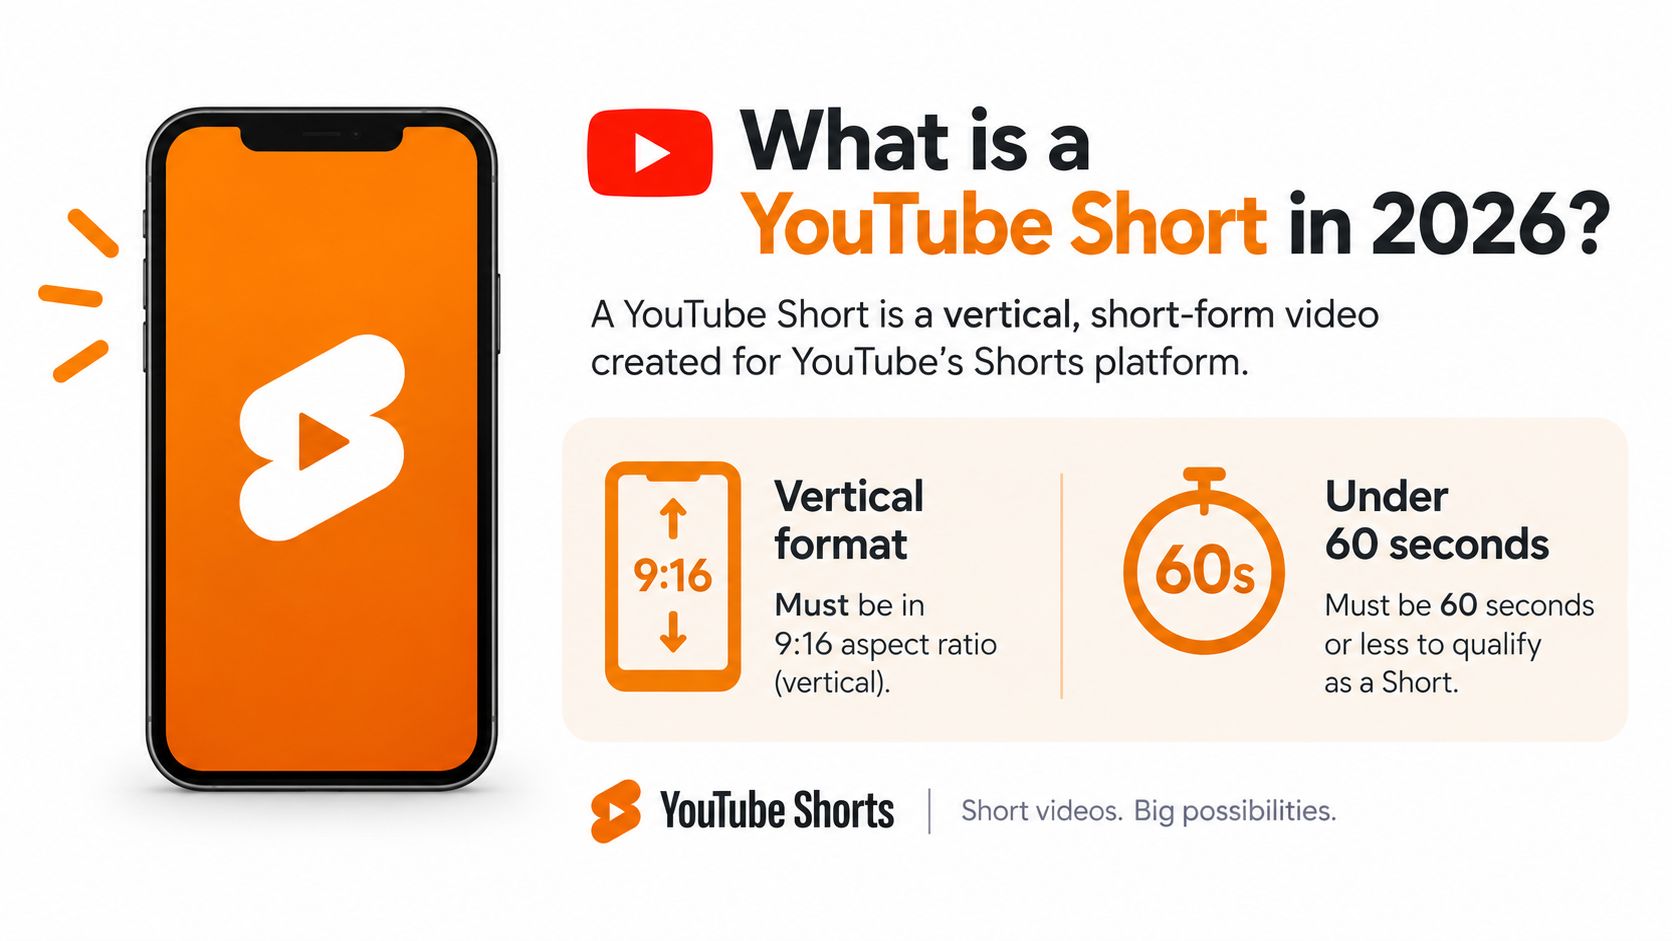
The image above reflects an older under-60-second framing. For current publishing, use YouTube's three-minute limit as the authoritative rule. A 90-second vertical clip can qualify, while a horizontal file can be treated as a standard upload even if the content was designed for the Shorts feed.
Validate the asset before uploading
Before opening YouTube, check:
- Frame shape: vertical or square, preferably 9:16 for a phone-first presentation.
- Duration: no longer than three minutes.
- Resolution: no higher than 1080p for the Short export.
- Orientation: the pixels themselves should be vertical, not merely rotated through metadata.
- Codec: use a broadly compatible MP4 export, usually H.264 video with AAC audio.
Titles and descriptions work much like they do for ordinary YouTube uploads, but the video can receive different discovery treatment when it qualifies for Shorts surfaces. You can compare platform requirements in this guide to social media video specifications before your editor exports the final file.
The important correction is simple. You don't need to search for a mysterious Shorts button in every workflow. You need a valid square or vertical file, a compliant duration, and an upload path that lets YouTube recognize the asset as short-form content.
Posting a Short from the YouTube Mobile App
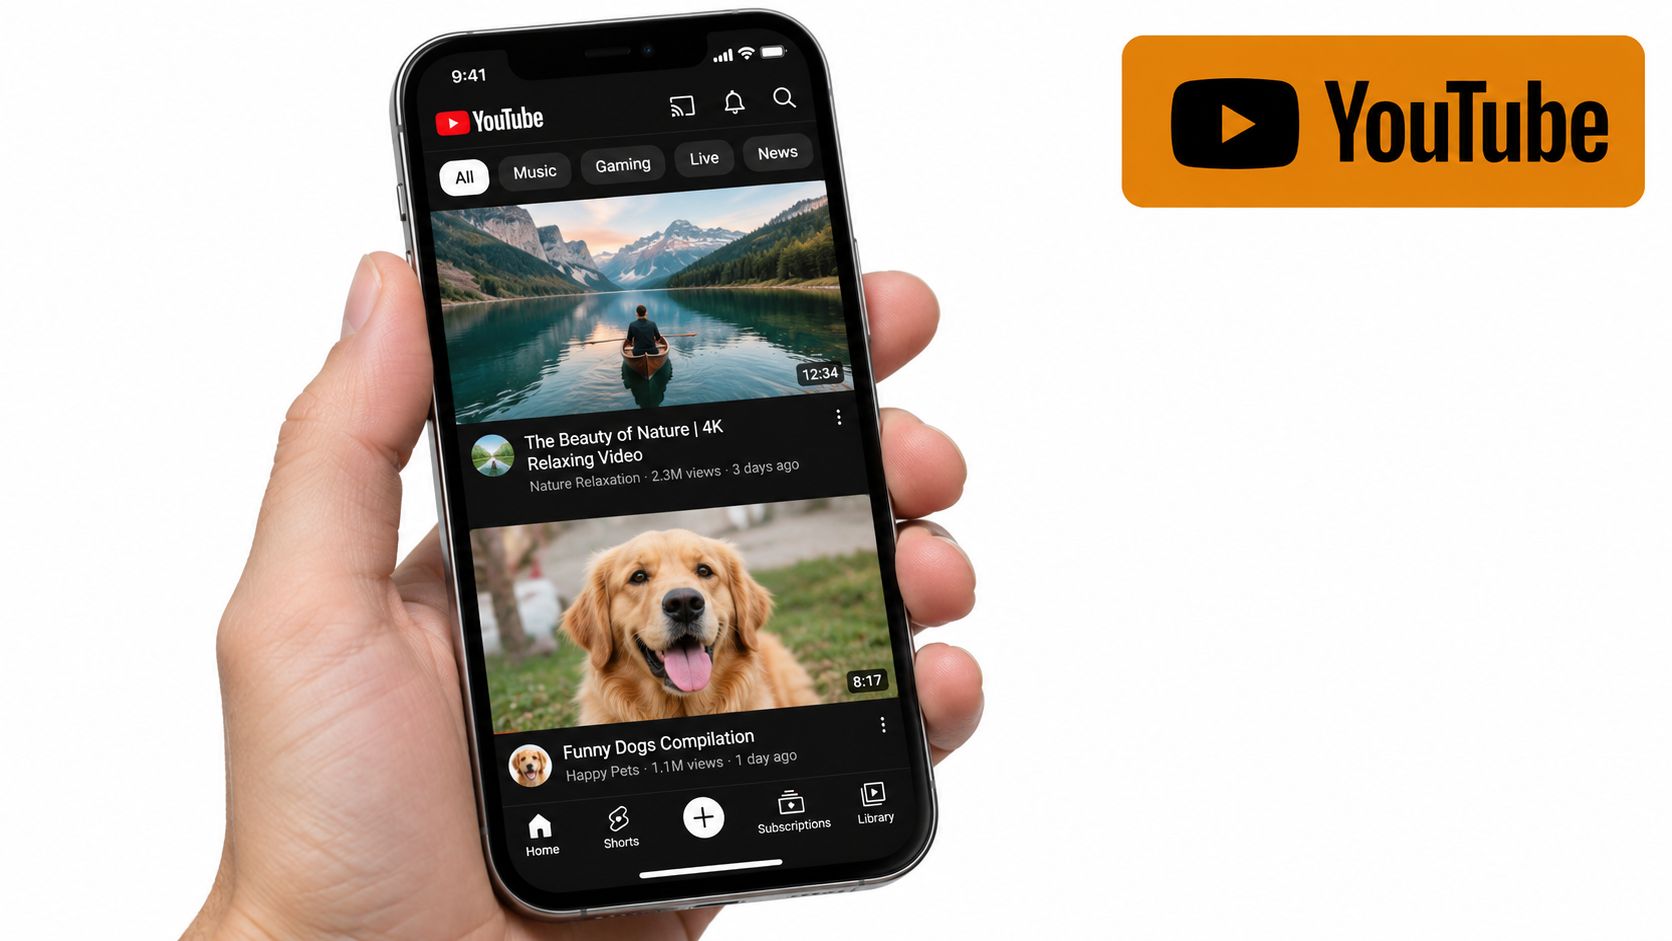
The mobile app gives you the most explicit Shorts-oriented workflow. Start on the YouTube home tab and tap the plus icon in the navigation area. Choose Create a Short rather than Upload a video.
You'll then reach the Shorts camera and editor. You can record directly inside the app, or tap the gallery option to select a prepared clip from your device. If you import media, inspect the preview before continuing. A 16:9 clip shot horizontally can suppress the Shorts-oriented controls because the source doesn't meet the expected frame shape.
Use the editor before adding details
The editor provides controls for trimming the clip, adding text, selecting sound, and using layouts such as green screen. The exact arrangement can change as YouTube updates the app, but the working principle stays the same: make the creative adjustments before you move to the publishing details.
Check the first frame while you're there. The viewer may encounter the video with sound off, so the opening image and any readable text should communicate the subject immediately. Keep important words away from the bottom edge and the right side, where YouTube interface controls can cover them.
Tap Next or the equivalent continue control to reach Add details. Review each field instead of accepting the defaults:
- Title: Keep the strongest hook at the beginning and stay within YouTube's title limit.
- Description: Add context, a relevant destination, or a concise explanation of what the viewer should do next.
- Visibility: Choose Public, Unlisted, or Schedule.
- Audience: Answer whether the video is made for kids. This is a compliance setting, not a growth tactic.
- Age restriction: Apply it when the content requires an age gate.
- Thumbnail: Select a frame that remains understandable at small size, if the account and interface provide that option.
Tap Upload Short or the app's current publish button. YouTube should show a processing notification. Don't judge distribution while the file is still processing. First confirm that the video appears in your channel content, then check whether it is listed among your Shorts.
Posting a Short from YouTube Studio on Desktop
Desktop publishing starts at YouTube Studio. Click Create, choose Upload videos, and select the prepared file. Unlike the mobile app, Studio doesn't usually present a separate “Create a Short” entry point. Classification happens from the uploaded file's properties.
The Details screen contains the main metadata fields. Enter the title, description, and thumbnail information, then open Show more to inspect additional options such as audience, age restriction, paid promotion, and tags. Tags can support context, but they won't repair a file with the wrong orientation or duration.
Complete the publishing controls
Continue through the upload panels and review the available video elements. You can add the video to a playlist, configure visibility, or schedule the release. Use the preview to check that captions, text overlays, and faces aren't hidden by the player interface.
There is no dedicated Shorts toggle on the desktop upload screen that you should depend on. The source file must satisfy YouTube's current Shorts rules, meaning it should be square or vertical and no longer than three minutes. A vertical file that meets those requirements can still require processing before its final classification becomes obvious.
After publishing, open Content in Studio and filter or inspect the content type for Shorts. Confirm that the video appears in the Shorts area instead of assuming that a portrait preview guarantees classification. If it appears as a standard video, return to the source export first. Re-uploading the same incorrectly encoded file rarely solves the underlying problem.
Best Practices for Shorts That Actually Get Watched
A Short can be technically valid and still lose viewers immediately. The first edit usually matters more than the upload button. Benchmark guidance for Shorts treats the first three seconds as a decisive retention window, and Shorts audience-retention benchmarks commonly use average percentage viewed to evaluate how much of the clip people watch.
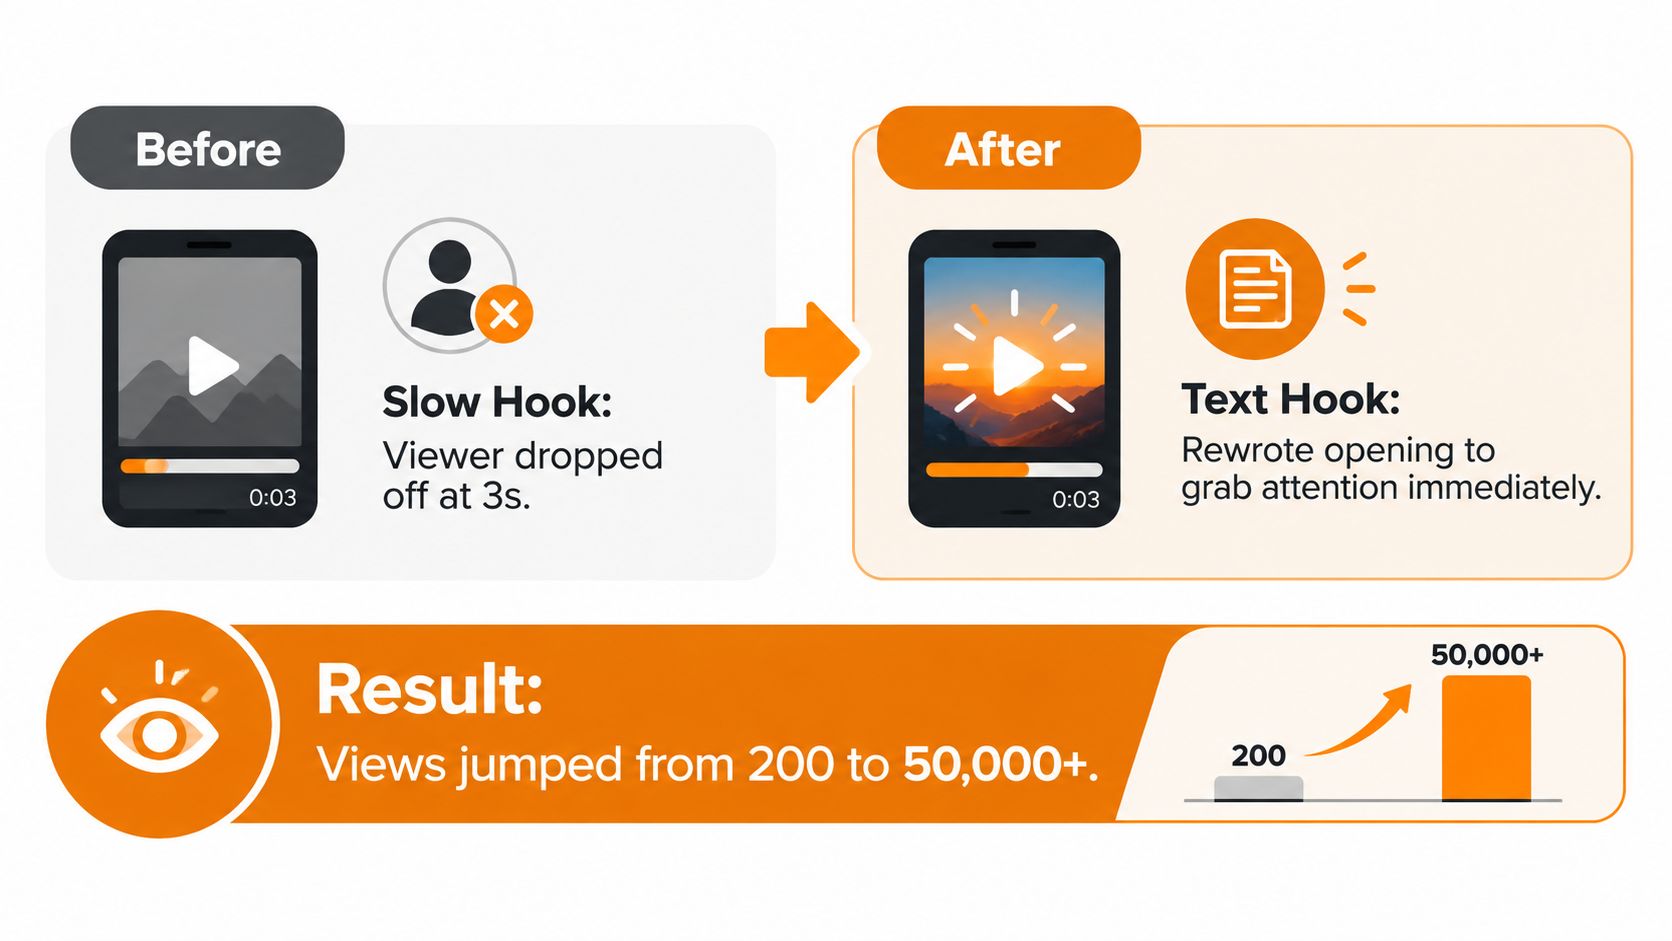
A useful working example is a tutorial that opens with a slow greeting, a logo animation, and a generic title. Viewers swipe before they reach the useful instruction. The revised version starts with the result, puts a short text hook on the first frame, and moves directly into the demonstration. The lesson isn't that one edit guarantees a particular view count. It's that the opening gives the viewer a reason to stay before asking for patience.
Practical rule: If the viewer needs your introduction to understand why the clip matters, the introduction is probably too long.
Build around the first frame
Use the first frame as a promise, not a poster. A direct statement such as “Fix this export setting before uploading” gives more context than a logo or a vague phrase. Keep the text large enough to read on a phone and place it inside the central safe area.
Exporting in 9:16 at 1080x1920 gives you more usable vertical space than a square composition for most mobile-first Shorts. It also lets you frame a speaker, product, or screen recording without forcing the viewer to look at a reduced image. Don't place important movement or captions close to the lower edge, where the description and navigation controls can interfere.
Retention gives you a better diagnostic than raw views. A low average percentage viewed usually points to a weak opening, slow pacing, or a payoff that arrives too late. An average percentage viewed above 100% can indicate replay behavior, which often comes from a smooth loop or a compact ending that naturally returns to the opening.
Make the ending do work
A strong loop doesn't require a visible gimmick. End on a question, movement, or visual state that connects naturally to the first frame. For a coding Short, the final result can cut back to the original error. For a product demonstration, the final close-up can return to the same composition used at the start.
Titles still matter, even when viewers discover the video through a feed. Put the subject or searchable phrase near the front, then add a specific curiosity gap. “YouTube Short export settings that prevent sideways video” gives clearer context than “You need to see this.”
Captions improve accessibility and make the message easier to follow without audio. A pinned comment can clarify a resource or answer the most likely question, but neither element can compensate for an opening that loses the viewer before the main idea begins.
Automating Shorts with the YouTube API and Mallary.ai
Manual publishing is sensible when you're testing a format or releasing occasional clips. Automation becomes useful when a team has approved assets, repeatable metadata, and a schedule that must survive staff changes or multiple channels.
There are three practical tiers.
Manual upload uses the YouTube mobile app or Studio. It has the lowest technical overhead and gives a human a final chance to catch a bad crop, incorrect audience setting, or unreadable caption. Its weakness is repetition. Every upload depends on someone completing the same fields correctly.
The YouTube Data API is the developer route. Set up OAuth consent, request the required upload permission, store refresh tokens securely, and use the resumable upload flow so an interrupted transfer can continue instead of restarting blindly. Map your publishing object to the video's title, description, tags, category, privacy status, and scheduled publish time. The API doesn't need a separate Shorts flag when the uploaded media satisfies YouTube's current square or vertical format and duration rules.
The implementation should validate the file before calling the upload endpoint. It should also refresh expired access tokens, retry transient failures with backoff, record the returned video ID, and avoid submitting the same job repeatedly after a network timeout.
Mallary.ai provides another route for teams that want YouTube Shorts scheduling and publishing without maintaining each authentication, retry, and queue component internally. Its YouTube workflow supports setting the post type to Shorts, while the same publishing model can carry media, metadata, and scheduling fields. The YouTube API publishing guide is the relevant place to review that integration approach.
| Approach | Setup Time | Monthly Cost | Best For |
|---|---|---|---|
| Manual | Minimal | Platform and production costs | Individual creators and small test batches |
| Data API | Engineering setup and maintenance | Infrastructure and development costs | Teams that need custom workflows and direct control |
| Mallary.ai | Configuration and account connection | Plan-dependent service cost | Teams that need managed publishing, scheduling, and shared automation |
The trade-off is control versus operational burden. Direct API work gives developers precise ownership of queues and business rules. A managed platform reduces the amount of OAuth, retry, scheduling, and platform-specific handling your team must own, but introduces a service dependency and subscription decision.
Troubleshooting the Most Common Short Upload Problems
Start with the symptom, not the theory. The upload stage usually tells you which layer failed.
The upload stays at zero
A file that remains at 0% may be using an inconvenient codec or container. Re-export from your editor as MP4 with H.264 video and AAC audio, then upload the new file. ProRes and HEVC sources can work in some workflows, but a broadly compatible export removes an avoidable variable.
Check the exported file itself, not just the project settings. Open it in a separate player, confirm that the image is vertical, and verify that the duration and resolution match the intended Short.
The finished video is sideways
This usually means the camera saved rotation as metadata while the encoded pixels remained horizontal. Some players honor that metadata, but a Shorts display path may not.
Open the source in an editor, rotate the image visibly, and export a new file with the vertical dimensions baked into the pixels. Then upload the replacement rather than relying on the original rotation flag.
The video appears as a standard upload
Inspect the source aspect ratio and duration first. YouTube's current rules require a square or vertical file no longer than three minutes, as documented in the earlier format guidance. In Studio, check the Content view and confirm whether the video appears in the Shorts category.
Don't assume that adding a hashtag will force classification. Metadata can describe the video, but it can't turn a horizontal or overlong file into a compliant Short.
An API request returns a quota error
A quota response means the request path has reached an API usage limit, not that the video file is necessarily broken. Log the response, stop immediate repeated retries, apply backoff, and inspect whether your job queue is submitting duplicates.
For scheduled batches, make uploads idempotent. Store the source asset ID and resulting YouTube video ID, then route failed jobs through a controlled retry process instead of launching parallel copies.
Your Shorts Publishing Checklist and What's Next
Run this sequence before every release:
- Validate the file: Confirm square or vertical framing, a duration within the current three-minute limit, a maximum 1080p export, and a compatible codec.
- Check the opening: Watch the first three seconds without sound. The first frame should communicate the subject and keep key text clear of interface areas.
- Choose the path: Use Create a Short in the mobile app, or Create, then Upload videos in Studio.
- Complete metadata: Write a specific title, add useful description text, select the correct audience setting, and choose visibility or scheduling.
- Verify classification: After processing, inspect Studio Content and confirm that YouTube lists the video as a Short.
- Monitor retention: Use average percentage viewed and the opening drop-off to decide whether the next edit needs a stronger hook, tighter pacing, or a better loop.
- Automate only after validation: Move repeatable publishing into the Data API or a managed workflow after the manual version works reliably.
Use a Shorts preflight checklist to turn those checks into a repeatable release gate. In 2026, the format is a major discovery surface, with industry summaries reporting about 2 billion monthly active users and roughly 200 billion daily views globally for Shorts, as summarized by Hootsuite's YouTube statistics overview. Those figures make file validation and reliable scheduling operational priorities, not minor upload details.
Mallary.ai supports scheduled YouTube publishing for Shorts through a unified API and platform workflow, with preflight checks that can help teams validate assets before release. If you're moving from one-off uploads to repeatable batches, visit Mallary.ai to review the publishing options and connect your Shorts workflow.
Try it with Mallary
STOP!
Want ChatGPT or Claude to post on YouTube for you?
Connect your social accounts one time. Then tell your AI what to write. It can make your posts, share them, and reply on social sites that allow replies. You do not need to write code.
Pick your AI





Connect once. Ask in plain English. Mallary does the work.


